If you are farsighted (hyperopic), chances are the default size of the cursor in OS X may be a little hard to see. Therefore, using the computer is not as easy as it should be. What you can do in this situation is increase the size of the cursor. A setting located in System Preferences lets you do just that. Read on to find out how.
Whenever my grandfather wants to use my laptop to read news online, I use the setting below to enlarge the cursor so that he knows where it is on-screen. The cursor can be enlarged to the size of a folder icon, which is more than enough for him to use the computer without any assistance.
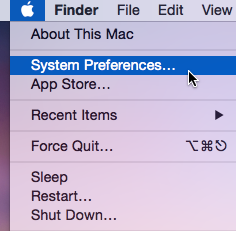
1. Move the cursor to the top left of the screen, click the Apple logo, and choose System Preferences from the menu. This step works regardless of the current application on-screen.
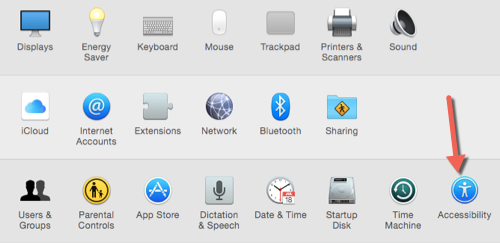
2. In the System Preferences window, choose the Accessibility option located in the third row.
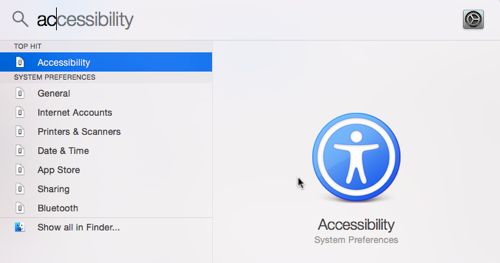
Alternatively, you can bring up Spotlight and access the Accessibility section from there. This method is quicker than the previous one.
3. Select the Vision -> Display section on the left-hand column, and then drag the Cursor size slider to the right to enlarge the cursor. As you move the slider, the size will be increased immediately, so it is easy to see how big the cursor is.
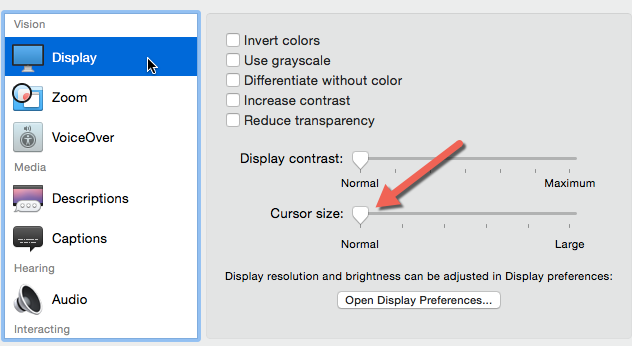
4. Close the preferences window. Whenever you want to switch back to the normal cursor size, go to the same location, and drag the slider all the way to the left.
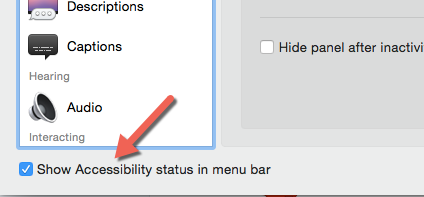
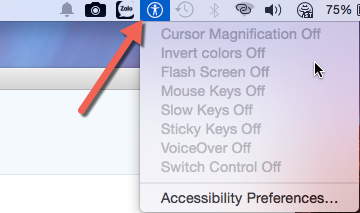
Bonus tip: If you use this setting often, it is a good idea to pin the Accessibility section to the menu bar so that you can access it without having to go through too many screens. While you are still viewing the Accessibility preferences window, check the box next to Show Accessibility status in menu bar.
