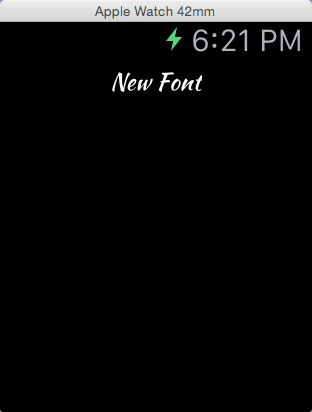
By default, Xcode only offers a limited number of fonts for creating Apple Watch apps. Developers who want more elaborate fonts are required to add them manually to the project and change them through code. Here is how to do it.
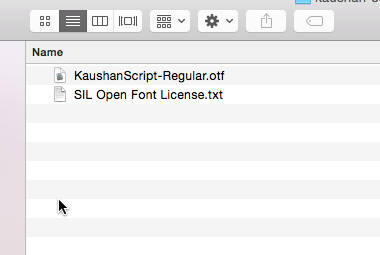
1. Make sure that you have the otf file of the font. In this tutorial, I am using the KaushanScript font.
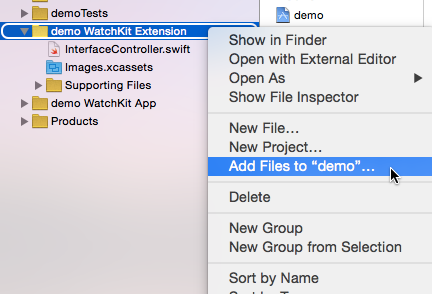
2. Open the Xcode project to which you want to add a font, right-click on the WatchKit Extension target, and choose Add Files to….
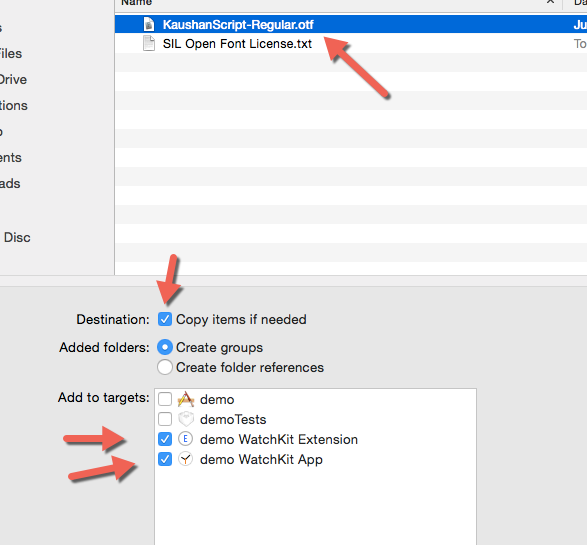
3. Select the new font, make sure that Copy items if needed is checked and the two WatchKit targets are selected before importing the font to the project.
Make sure that the font is included in the bundle by selecting the project name -> WatchKit Extension -> Build Phases -> Copy Bundle Resources.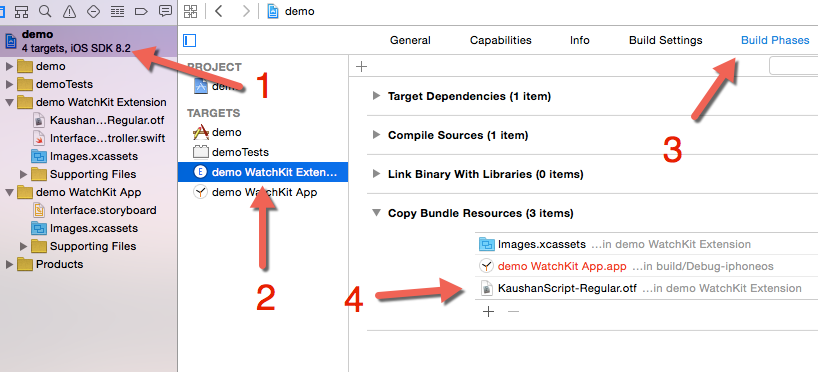
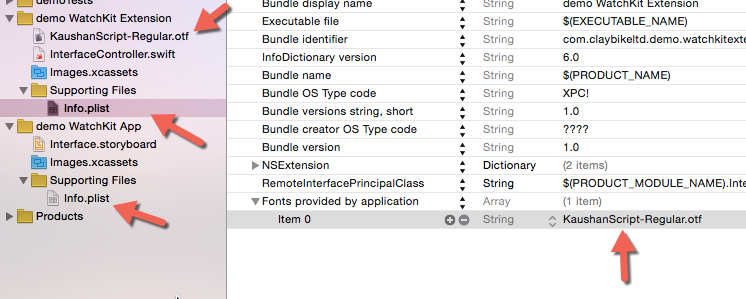
4. Add the Fonts provided by application entry to the Info.plist file of BOTH the WatchKit Extension and the WatchKit App. For Item 0, set it to the exact name of the font file you just added, including the font extension.
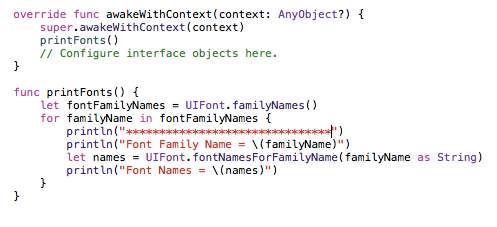
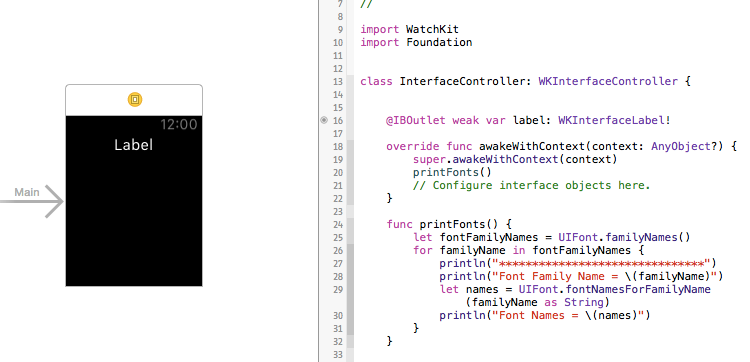
5. In order to set the font later, we will need the font name. While in most cases the font name is the same as the file name, no one can guarantee this. Someone on the internet may change the file name, but the font name stays the same. In order to find the font’s actual name, open the InterfaceController.swift file of the initial view under the WatchKit extension, and call the printFonts method in awakeWithContext.
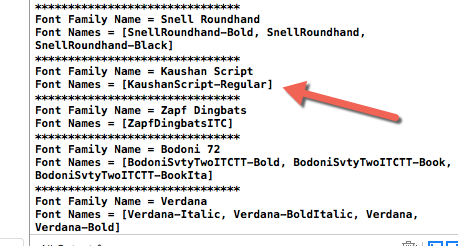
6. Launch the Watch app, and find the font name in the debug area. Once you have the file name, you may remove the printFonts method from the swift file.
7. Switch to the initial view of the watch app, add a label, and connect it to the code using IBOutlet.
8. Finally, create a NSAttributedString instance with the parameters in the screenshot below, and call label.setAttributedText(attributedText) to change the font.
Pay close attention to the font name and its size.

9. Launch the app again, and admire the new font.
