On the Apple Watch, Glances are like mini versions of full apps and provide summaries of key content from the apps you use most frequently. Glances can be accessed by swiping up from the watch face. Since a Glance takes up the whole screen, it may take several swipes to the left to access the Glance screen that you want. Luckily, you can always rearrange the order of your Glances, remove the ones you do not need, and add new ones if you want.
By default, Apple provides a few Glances for you to use from the start. Depending on your needs, you may find that some Glances are not useful. For example, the Music Glance, which lets you control the music playing on your phone, is not very useful for me because I only use earphones that already have the skip or rewind feature. Also, I do not find the Battery Glance to be helpful since I can always keep track of the battery on the watch face. Customizing your Glances will help you make the most of this feature.
1. Pair your Apple Watch with your iPhone using Bluetooth.
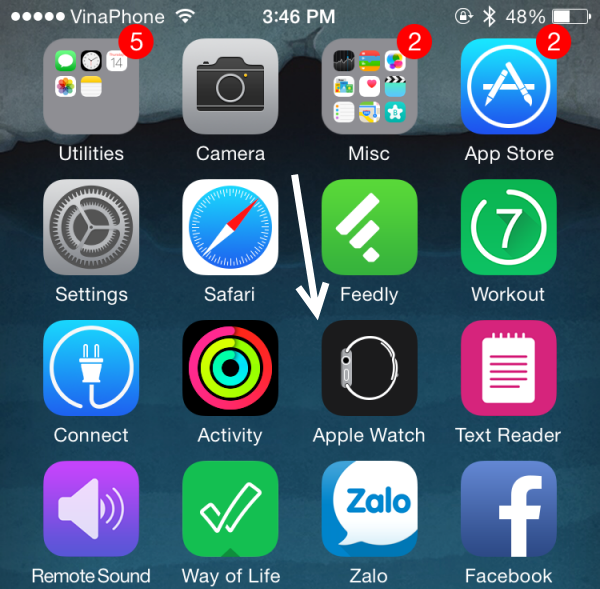
2. Go to the home screen, and launch the Apple Watch app.

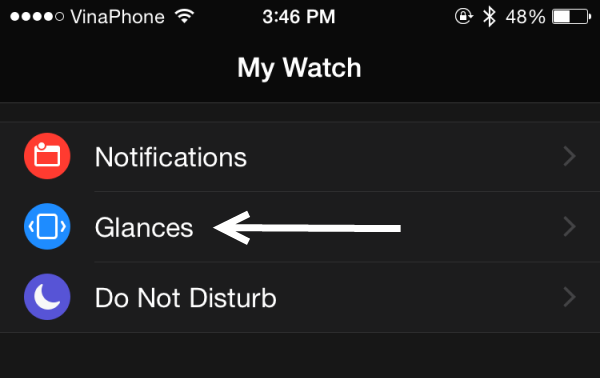
3. Scroll to the third section, and then select the Glances from the list.

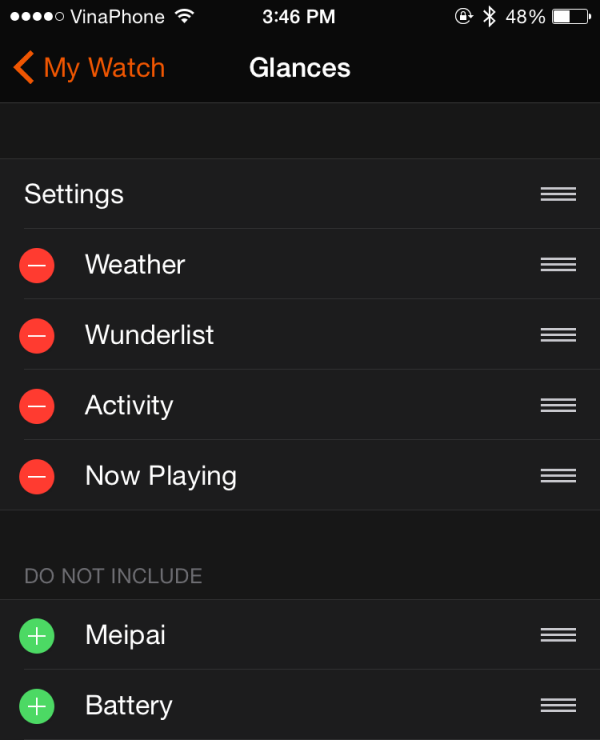
4. In the Glances screen, you will see two separate sections. The one on top contains all the active Glances on your Apple Watch. The other one includes all available Glances on your phone. These Glances are from apps supporting the Apple Watch. You may see a few that you have not used before.

5. To remove a Glance from your Apple Watch, tap its corresponding red minus button. To add a Glance to the watch, press the green plus button.
6. To rearrange the order of your Glances, drag the handler up or down. The topmost Glance is the leftmost one on the watch.
7. The changes will be synced automatically to the watch.
8. Removing a Glance from the watch does not uninstall the parent app.

