The Apple iPhone is one of the world’s best phones when it comes to camera quality. The iPhone 6 packs a lot of camera power: an 8-megapixel iSight camera with 1.5µm pixel size and optical image stabilization (iPhone 6S and 6S Plus only). Aside from the iPhone’s camera specifications, the phone’s native camera app has a lot to offer. One of the camera’s most unique features is Pano mode. It allows you to take a panorama with iPhone so that you can capture a wider view in a single photograph. This tutorial will show you how to capture that perfect panoramic shot on your iPhone.
Capture a 360-Degree Photo in iPhone
To take a panorama with iPhone, follow these steps:
1.Go to your Home Screen. Wherever you are on your iphone, press the Home button to get to your Home Screen.
2.Open your Camera app. Tap on the Camera icon from your iPhone’s Home screen. ![]()
3.Set your phone to Pano (Panorama) mode. Swipe to the left. Pano is the right-most camera option. 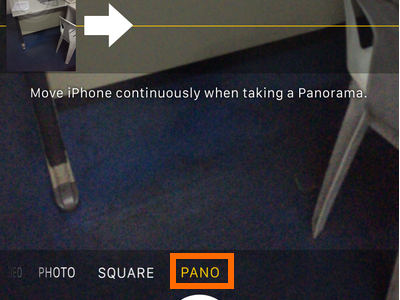
4.Tap on the Capture button to start taking panoramas. 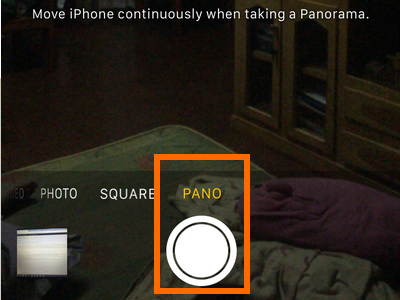
5.Move your iPhone to the right continuously to start capturing your panoramic photos.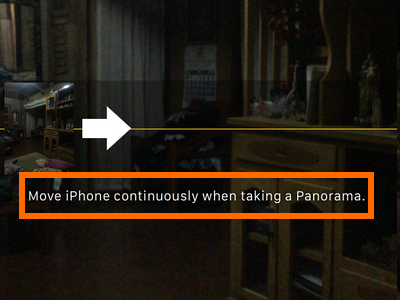
6.Make sure that you keep the arrow on the center line.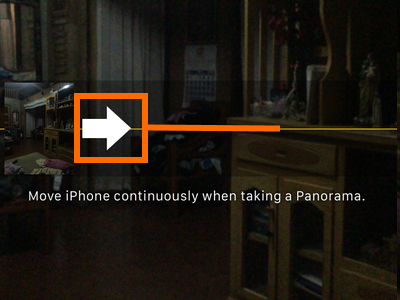
7.Slow down and try not to move too fast.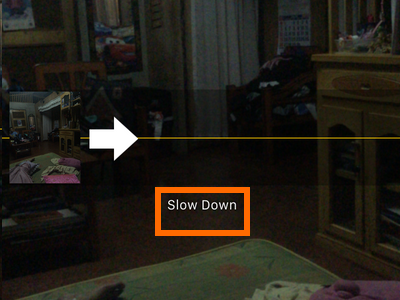
8.Move up when the arrow is too far below the center line.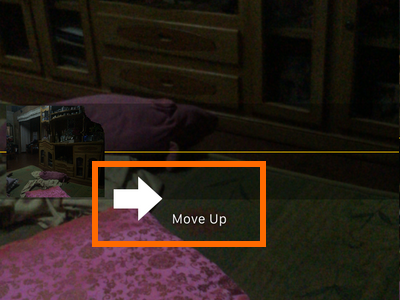
9.Move down when the arrow is too far above the center line.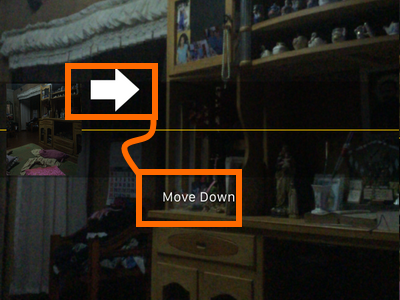
10.Continue until you have captured the whole scene, or press the Capture button to cut the panoramic image.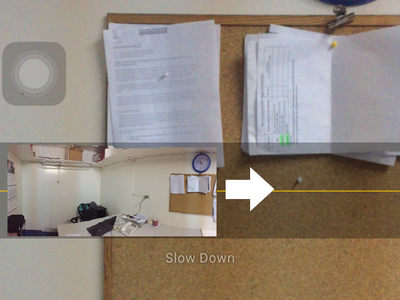
Panoramas can only be taken using the iPhone’s rear camera. Currently, the front camera on the iPhone does not support this feature.
You now know how to take a panorama with iPhone. If you have tips on taking that perfect Pano shot, share your knowledge in our comments section below.

