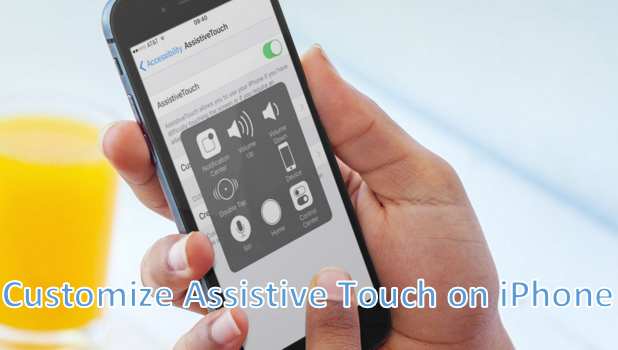
Assistive Touch on iPhone is a small, yet powerful tool that can help you with your daily cell phone use. Once you have enabled Assistive Touch on iPhone, you can perform specific functions on your phone without pressing any physical keys. If you are the type who usually takes screenshots on iPhone, the Home+Power button combination may be familiar. However, the fear that one day these buttons will malfunction may also be familiar to you. If you are the type who constantly uses the physical buttons and worries that these buttons may wear out, then Assistive Touch is the solution for you.
Aside from the six default icons on Assistive Touch, you can also use many other functions with the feature. You can add more buttons or edit each button to suit your personal preferences.
Edit and Customize Assistive Touch on iPhone
You can change the default number of buttons and the commands on your iPhone’s Assistive Touch feature by following these steps:
1.Unlock your iPhone and press the Home button.
2.From the Home screen, open your iPhone’s Settings.
3.From Settings, tap on General and then tap on the Accessibility option.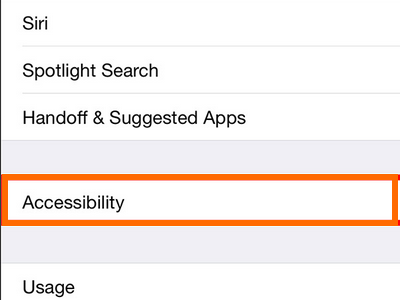
4.Go to the Interaction section of Accessibility and tap on the Assistive Touch option.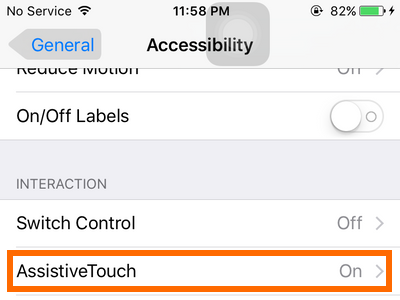
5.In the Assistive Touch page, tap on Customize Top Level Menu.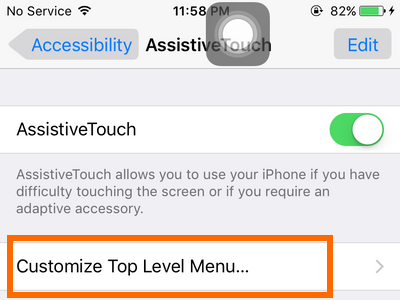
6.Tap on the minus and plus icons to remove and add icons on Assistive Touch.![]()
7.Tap on an icon to view available functions from which you can choose.![]()
8.Choose from the list of functions that you want to be placed on the icon then tap on Done.![]()
9.Tap on the Reset button only when you want to reset Assistive Touch icons and functions to their original settings.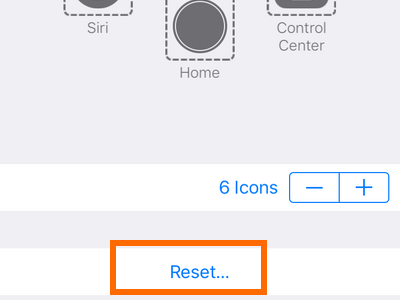
10.Tap on the Back button at the upper-left part of the screen to go back to the previous screen.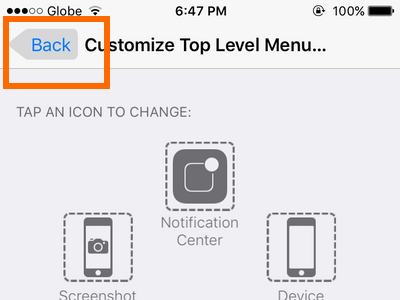
11.You are done.![]()
Customizing the Assistive Touch feature is easy. Now you can perform commands and actions without using any physical buttons. If you have issues with any of the steps above, let us know in the comments section.

