Automatic iOS app updates on the iPhone may not be everyone’s cup of tea. For one, these updates may require a large portion of your device’s storage. If you are the type of person who runs out of memory every now and then, then automatic iOS app updates may cause some headaches. Also, these updates require an internet connection which could cost you internet fees. There are also those annoying errors and bugs that you will likely encounter on new app updates. If you are the type of user who prefers not to fix anything that is not broken, then this tutorial is a must-read.
Disabling automatic updates on your device is also an efficient way to save your battery juice. Your phone will not have to complete some processes periodically in the background to check, download, and install application updates on your device.
How to Turn Off Automatic App Updates on iPhone, iPad and iPod Touch
To disable automatic iOS app updates on your Apple device, follow these steps:
1.Go to your Apple device’s Home screen. For the purposes of this tutorial, I will use an iPhone as the example.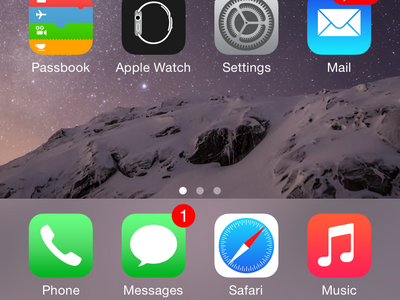
2.From the Home screen, tap on Settings to access your device’s settings menu.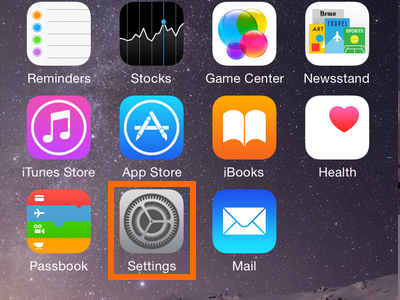
3.From Settings, scroll down until you get to the App and iTunes Stores option. On some iOS versions, the option is called the iTunes and App Store.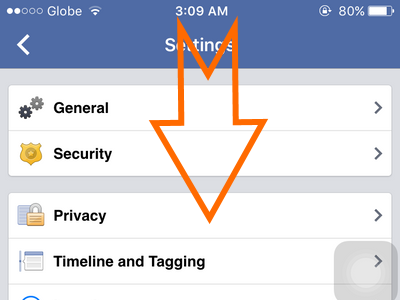
4.Tap on the App and iTunes Store option to open a new page.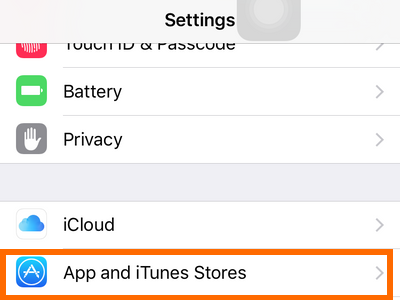
5.Under Automatic Downloads, tap on the switch for the Updates option.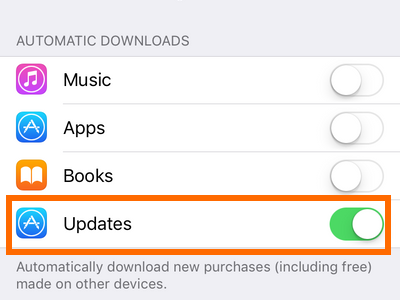
6.A grey switch button indicates that automatic updates for apps is disabled.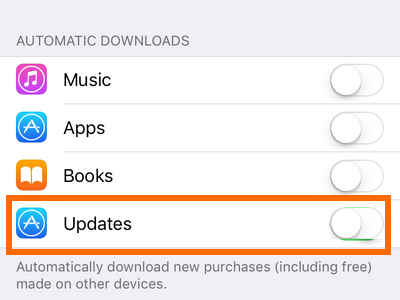
7.You are done! To enable the automatic updates, tap on the switch next to the Updates option to turn it on.
Do you have any experiences with the automatic updates on your Apple devices? What were they? Let me know in the comments section. The steps outlined above should make the disabling of automatic iOS app updates easier. If you get stuck with any of the steps above, drop me a message so that I can get back to you.

