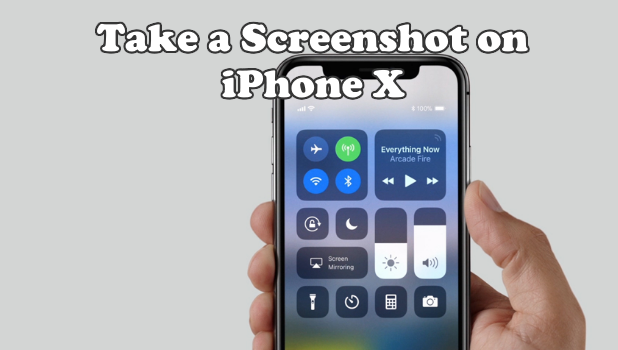
Since Apple has ditched the Home button on their latest iPhone device, taking a screenshot on iPhone X has changed by a bit. Here’s how to take one.
For the longest time, taking a screenshot on an iPhone has always been the same. By simultaneously pressing the Home and Power button, one can take a screenshot on the iPhone. However, with the removal of the iPhone X’s Home button, you may wonder how can you take a screenshot now that the said button is missing. This article will teach you how to take a screenshot on iPhone X.
Method 1: Take a Screenshot on iPhone X Using the Physical Buttons
You can use the usual two-button combination to take a screenshot on iPhone X but the buttons have changed. Here’s how to take a screenshot:
1.On your iPhone X, press and hold the Side button. The Side button is the renamed version of the Power/Lock button. As the button is used as a utility button for different functions other than locking and powering the iPhone X, Apple has decided to rename the button to a more generic one. 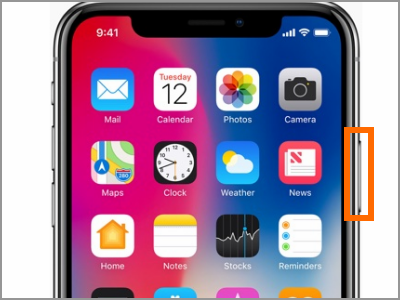
2.Quickly press the Volume Up button on the left side of the iPhone X. Release both buttons afterward.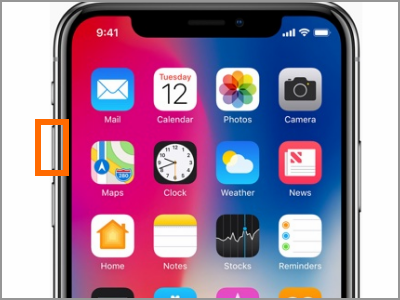
3.The iPhone X will take a screenshot. A thumbnail on the lower-left side of the screen appears indicating that the screenshot is a success.
Note: You can tap on the thumbnail to make a quick edit on the screenshot. You can check out this article on how to edit iPhone screenshots using Instant Markup.
Method 2: Take a Screenshot on iPhone X Using the Assistive Touch
You can use the Assistive Touch to take a screenshot on iPhone X. Here’s how it is done:
First: Enable the Assistive Touch
Enable the Assistive Touch feature on your iPhone X be doing these steps:
1.Tap on the Settings app from your Home screen.
2.From Settings, tap on General.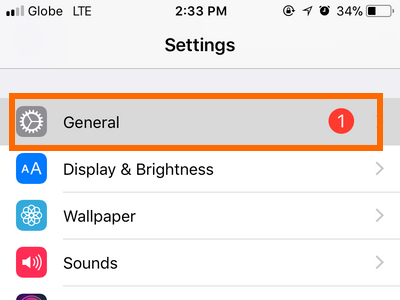
3.From General, open the Accessibility settings.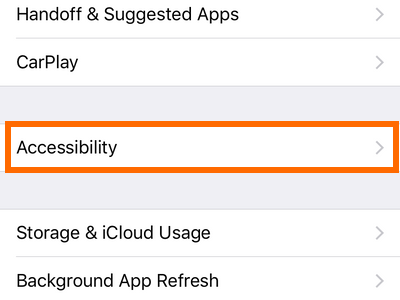
4.Scroll down and tap on the Assitive Touch option.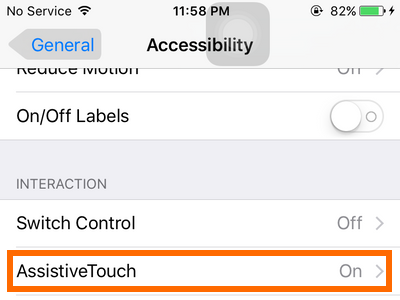
5.Tap on the Assistive Touch feature’s switch button. Once the switch turns to green, the feature is enabled on your iPhone X.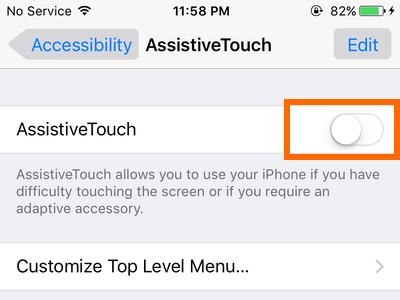
Second: Add the Screenshot Action to the Assistive Touch
Add the Screenshot action by customizing the Assistive Touch. To customize your iPhone’s Assistive Touch, do these:
1.Tap on the Settings app from your Home screen.
2.From Settings, tap on General.
3.From General, open the Accessibility settings.
4.Scroll down and tap on the Assitive Touch option.
5.Tap on Customize Top Level Menu.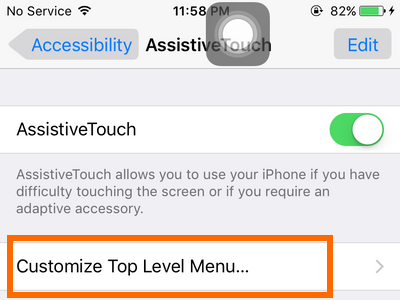
6.Choose one of the top level buttons.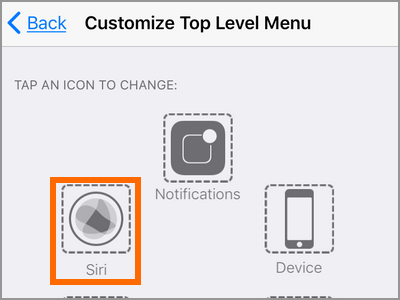
7.From the list of actions, scroll down and tap on Screenshot.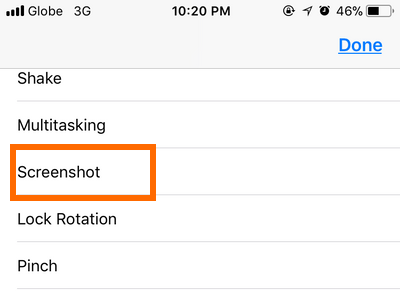
8.Tap on Done to save changes.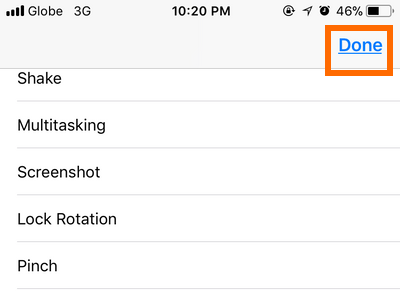
9.The screenshot button is now part of the Assistive Touch actions.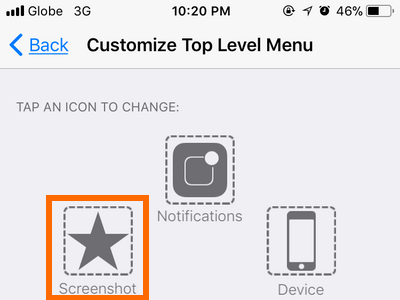
Finally: Take a Screenshot Using the Assistive Touch
You can now proceed with taking a screenshot using the Assistive Touch:
1.Tap on the Assistive Touch hovering on your iPhone X’s screen.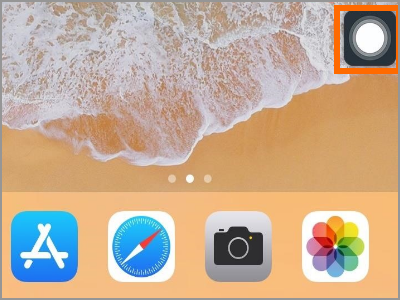
2.Tap on the Screenshot button.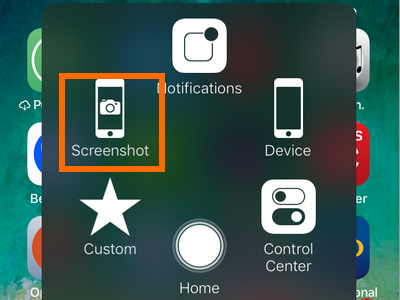
3.The iPhone X will take a screenshot. A thumbnail on the lower-left side of the screen appears indicating that the screenshot is a success.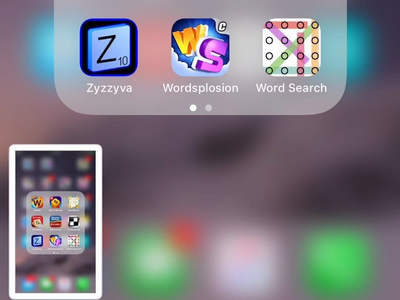
Frequently Asked Questions
Q: I tried taking a screenshot using the physical buttons but my iPhone X shows that slider that turns off the device. Am I doing something wrong?
A: Pressing and quickly releasing the Side button + Volume Up button captures a phone’s screen. Pressing and holding the Side button + Volume Up button will trigger the iPhone X to restart. See to it that you immediately release the buttons so that the iPhone X interprets your gesture as a screenshot-making action.
You just learned how to take a screenshot on iPhone X. If you have questions with any of the steps above, let us know in the comments section.
If this article interests you, you might find these related articles interesting too. Go check them out!
Edit Screenshots on iPhone iOS 11 Using Instant Markup
Automatically Save Screenshots from iPhone to Computer
How to Record iPhone Screen
iPhone: How to Take a Screenshot

