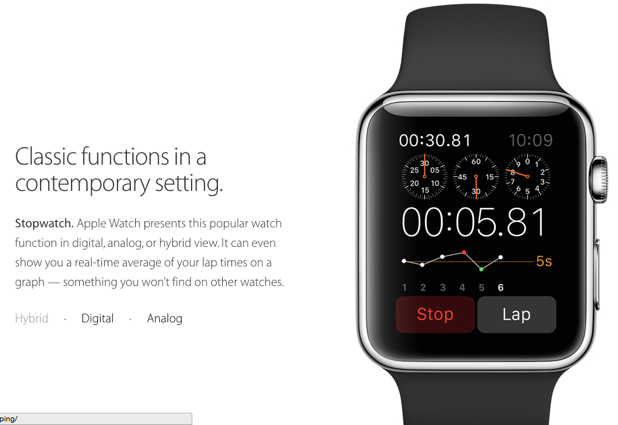
The Apple Watch comes in two different sizes: 42 mm and 38 mm. With very limited screen space, apps must be designed carefully so that users can use them easily even on such a small screen. Developers who make apps for the watch can make adjustments according to the size and provide users with the best app version. Here is how to do it.
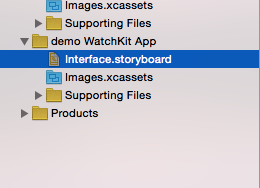
1. Open your existing Xcode project. If the WatchKit target has not been added, follow this tutorial to add the necessary parts to the project. Once everything is in place, select the Interface.storyboard file from the project’s navigator.
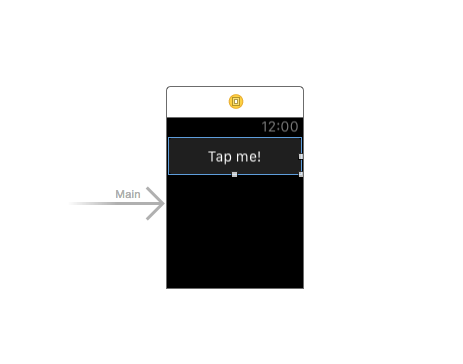
2. Add a button to the view, and replace the default text on the button with something more descriptive. It does not matter which text you set because we are going to change the text based on the device’s screen resolution.
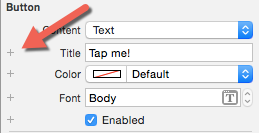
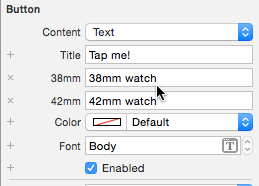
3. Select the button, go to the Attributes section in the Utilities panel, and click the plus sign next to the Title field. You may notice that the plus sign is available for other attributes as well. This sign means the attributes can be changed for different screen resolutions.
4. Select the screen size for which you want to configure. At the moment, there are only two options: Apple Watch 42 mm and Apple Watch 38 mm. As new devices are rolled out every year, the list may change.

5. Provide the alternative text for the screen size you selected. If you configure the text for only one specific size, the app will display the default text (title) for other screen sizes.
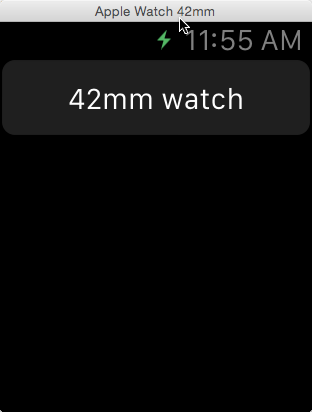
6. Run the WatchKit app scheme, and verify everything works as expected. As you can see, the button’s text is for a 42mm watch for the biggest emulator’s screen size.
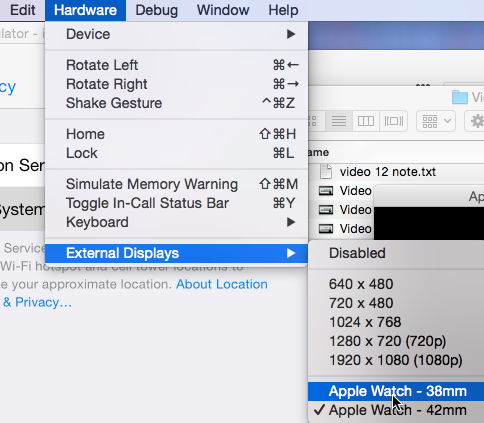
You may also want to switch to the smaller one to see how things look on-screen. To do that, go to Hardware -> External Displays -> Apple Watch – 38/42 mm.
7. While it is possible to set entirely different attributes for objects in your app, Apple advises you to make only subtle changes to the elements.

