When using your iPhone’s native email app, you may notice that there is no button for you to attach photos to email messages. It may not be obvious at first, but the Mail app has an option for you to attach photos to email messages on your Apple device. In fact, there are two basic ways to do it. This tutorial will guide you through the two methods that you can use to attach photos to email messages on iPhone.
To start attaching and sending photos using your iPhone’s Mail app, you need to follow either of the two methods which are outlined below. Each method has its own advantages and disadvantages. The pros and cons of each are also explained in this tutorial.
Method 1: Attach Photos to Email Messages on iPhone Using the Mail App
You can use the native Mail application to attach and send photos on your iPhone. The steps below explain how.
1.Go to your iPhone’s Home Screen by pressing the Home button.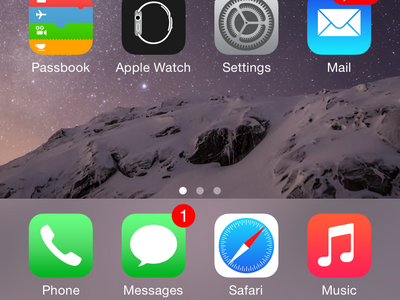
2.Open the Mail app. Find the Mail app from your iPhone’s Home screen, and tap on its icon to open the application.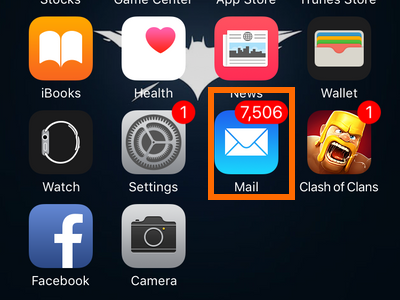
3.Choose your preferred email account. If you have more than one email account, tap on your preferred account.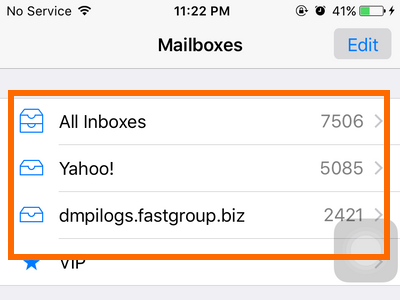
4.Create a new email message. Tap on the on the Write Mail button in the lower-right corner of the screen.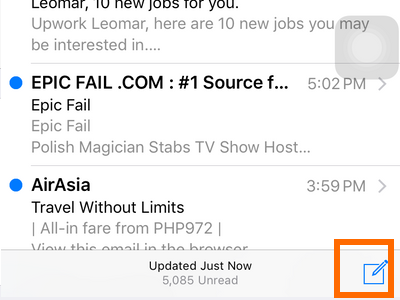
5.On the new message screen, fill in the necessary details. Enter the email address where you want to send the email, and then fill in the Cc/Bcc fields (optional). Enter your preferred subject.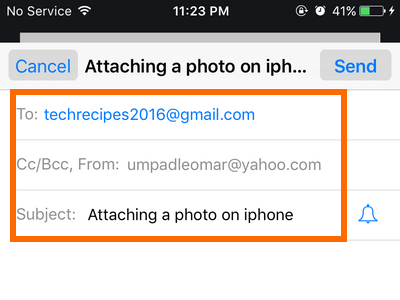 6.Enter a message.
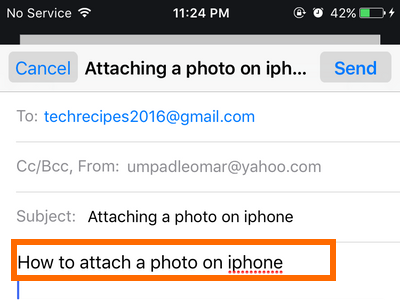
7.Tap and hold on any empty space on the message screen. Wait for the extra options to pop up.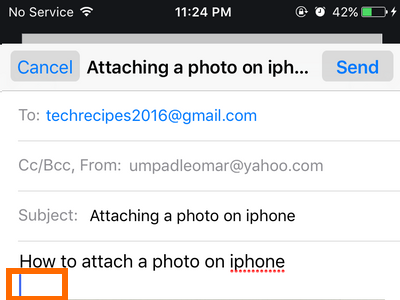
8.From the pop-up options, tap on the More Options button. The button is an arrow icon pointing to the right.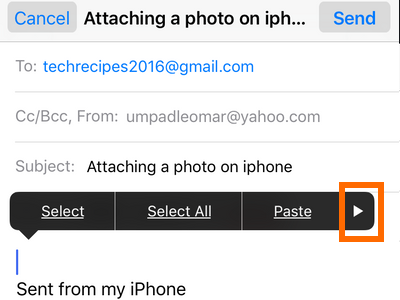
9.Tap on Insert Photo or Video.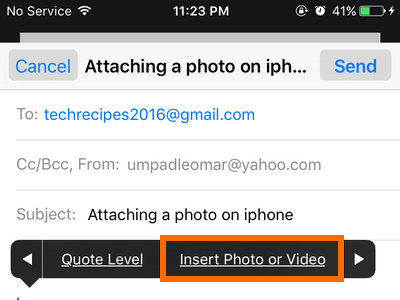
10.Tap on the photo you want to send from the Photos app on your iPhone.
11.Tap on the Choose button to finalize your photo selection.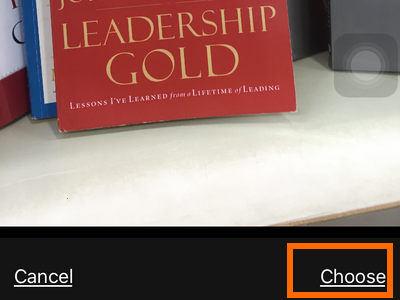
12.Repeat Steps 7 – 11 when necessary to attach more photos to an email message.
13.Tap on the Send button after attaching all the photos.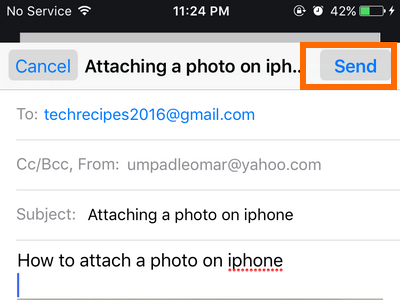
14.Choose the size of the file that you want to send.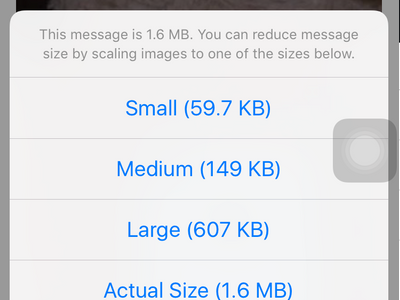
15.You are done.
Advantage: You can attach as many photos you want.
Disadvantage: Attaching multiple photos can be time-consuming as you need to perform five steps every time you attach a photo to an email message.
Method 2: Attach Photos to Email Messages on iPhone Using the Photos App
You can use the Photos application on your iPhone to attach and send photos using your Mail. The steps below explain how:
1.Go to your iPhone’s Home Screen by pressing on the Home button.
2.Open the Photos app. Find the Mail app from your iPhone’s Home Screen, and tap on its icon to open the application.![]()
3.Choose a Photos folder. 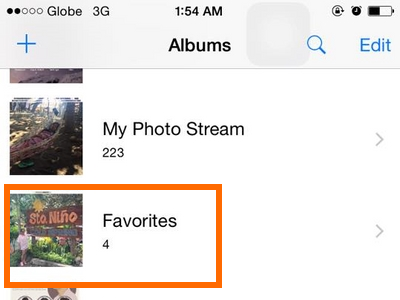
4.Tap on the photo that you want to attach.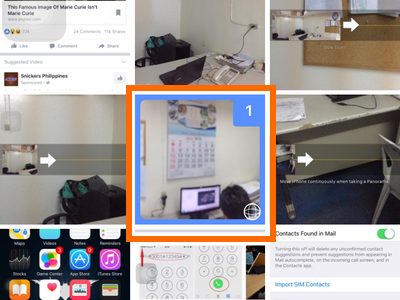
5.Tap on the Share button located on the lower-left corner of your screen.
6.Swipe to the left or right to view more photos.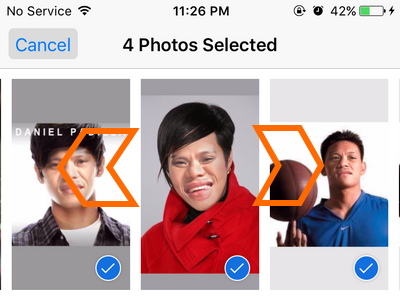
7.Tap on more photos to select more photos to attach.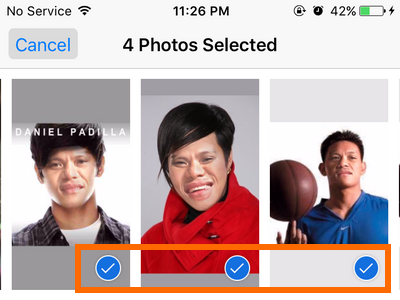
8.From the list of Share options, swipe to the left.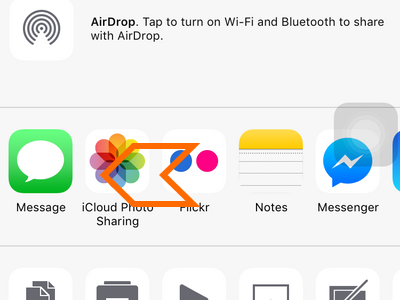
9.Tap on the Email option.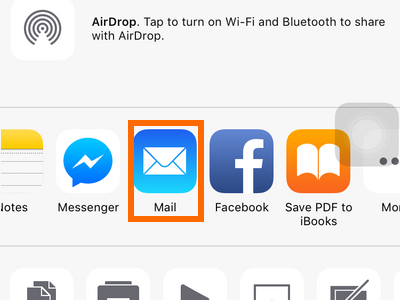
10.On the new message screen, fill in the necessary details. Enter the email address where you want to send the email. Fill in the Cc/Bcc fields (optional). Enter your preferred subject. 11.Enter a message.
12.Tap on the Send button after attaching all the photos.
13.Choose the size of the file that you want to send.
14.You are done.
Advantage: You do not have to repeat the same process over and over again to attach multiple photos.
Disadvantage: Then number of photos attached to an email is limited. You can only attach a maximum of five photos at a time.
Do you have other ways of attaching photos to your email messages using iPhone? We would like to hear your method. If you are experiencing issues with any of the steps from the two procedures outlined above, let me know in the comments section.

