In a previous post, I demonstrated how to highlight, underline, and strikethrough text in a PDF file using Mac’s built-in Preview app. This article will go a step farther and show you how to add text boxes to your PDFs, which is helpful if you want to add a bold note to a page or leave a note to future readers. Are you studying a PDF document for school or work? Put text boxes with key words in the margins so that you can refer back to important sections later. You can control the color of the text box background and border to make it stand out as boldly as you would like.
Use Mac’s Preview App to Add Text Boxes to a PDF
1.Open the PDF document in Preview, and then open up the Markup Toolbar by clicking the toolbox icon from the main toolbar. 
2.To add a text box, click on the T in the markup toolbar. The text box will appear in the center of your PDF. Click or double-click on it to change the text. To move the text box, click on it once to select it. Hover your cursor over the edge of the text box; it should change to a grabbing hand. Click and drag the text box.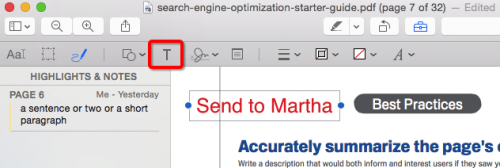
3.Text boxes have a clear background by default. To add a background color, select the text box, and then click Fill Color from the markup toolbar as shown below. The white square with a red slash through it denotes a clear background.
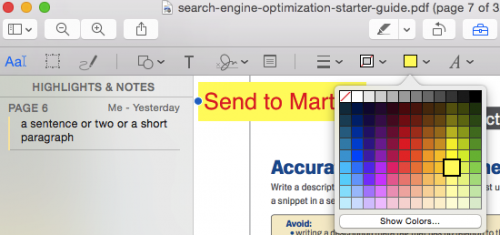
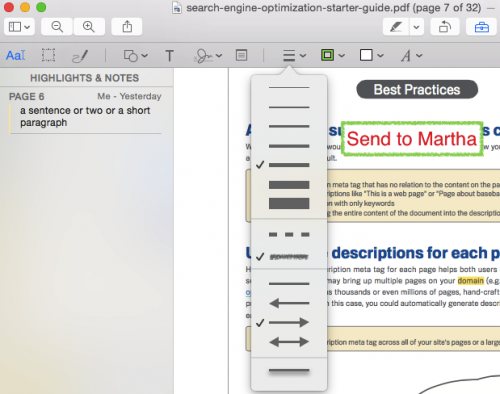
4.To add a border to your text box, click the icon with the hollow square and choose a color. You can change the thickness, style, and add shadow to your border by clicking the shape style tool to the left of the border color tool. 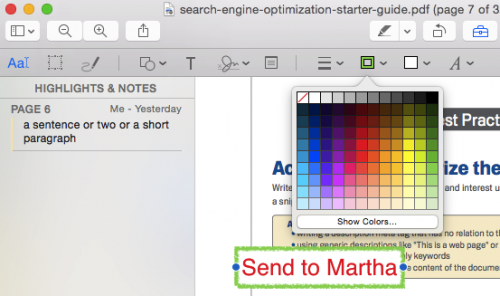
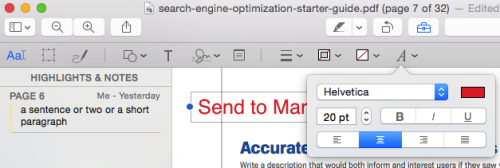
5.Click Text Style to change the font, color, and size of your text. You can also add bold, underline, and italic effects to your text from this menu. 