Not only does Facebook let you send lovely stickers to your friends through chat, it also lets you add those stickers to your photos. Here is how to do it on your iPhone or Android phone.
While the screenshots in this tutorial were taken using the iPhone, the steps are the same for Android phones (Samsung, HTC, LG, Sony).
1. Go to the App Store, and download the Stickered for Messenger app. It was developed by the Facebook team and is free.
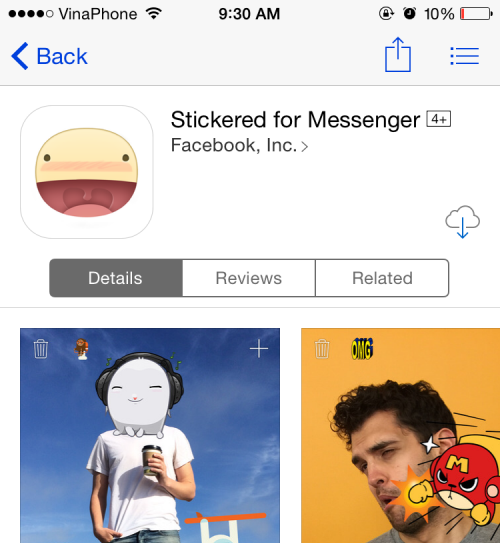
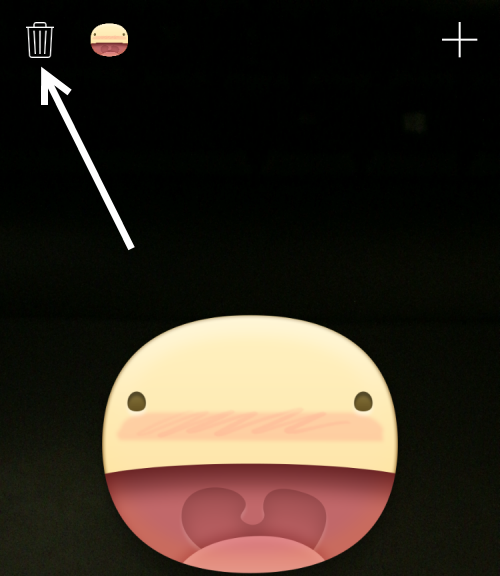
2. Launch the app when it is installed on your phone. When you first launch the app, you will see a big smiling sticker blocking the view. Just tap the trash bin icon to delete it.
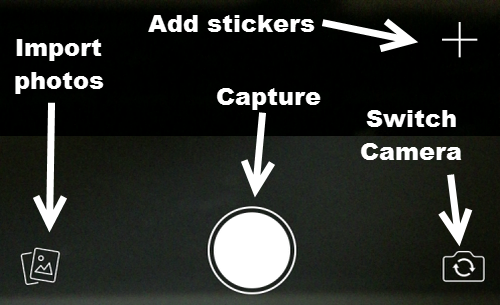
3. Take a photo by pressing the circle at the bottom of the screen like you normally do in any other app. If you have an existing photo that you want to edit, tap the Import photos icon. You can switch between the rear camera and the front-facing one using the Switch camera button. To add stickers to the scene, tap the plus icon at the top right of the screen. You can add stickers to the scene even if you have not taken any photos.
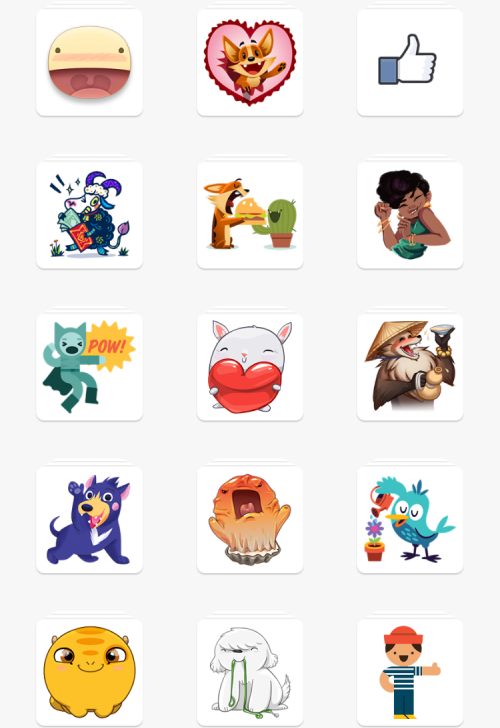
4. Similar to the Facebook Chat app, stickers are grouped together. Inside a sticker set, you can tap on any sticker you would like to add to the photo. While the sticker collection is not as big as the Facebook Chat counterpart, it is more than enough for most users to express their feelings. Watch out for more sticker sets as they are added constantly.
5. You can add multiple stickers to your photos. You can even resize them, rotate them, or change their positions on screen. If you accidentally add a sticker to the photo, select it, and tap the trash bin icon. When you are done editing the photo, you can save a copy to the phone or send it directly to your Facebook friends.
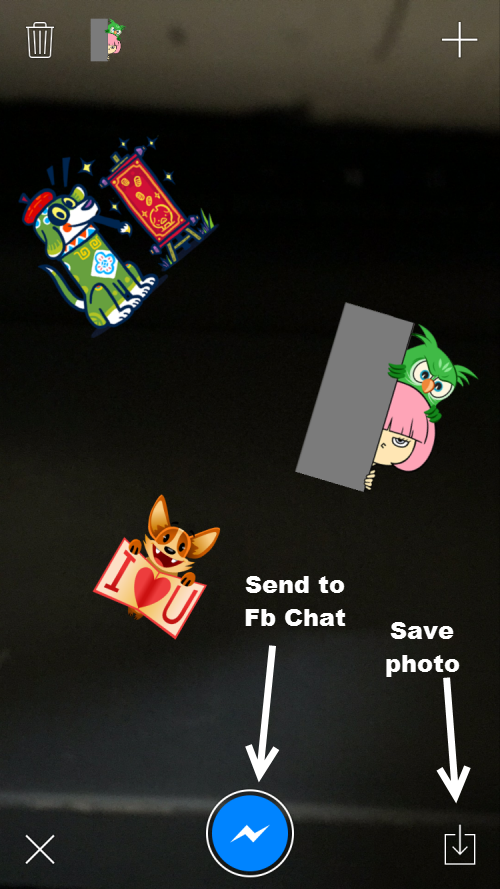
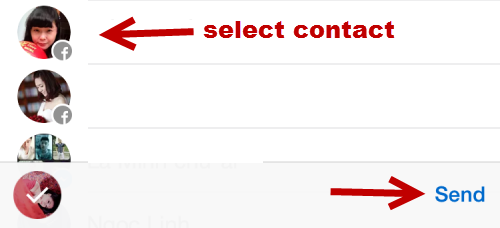
6. If you choose to send the photo to friends, the Facebook Chat app will be opened. It will ask you to select the contacts to whom you want to send the picture.
