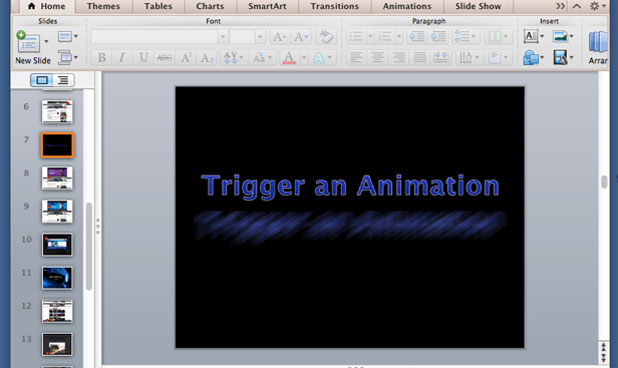
By default in PowerPoint, you can activate the animation of objects using a click sequence. You can, however, edit this setup and let your custom animation trigger when you click on a specific object on a slide.
While using a click sequence is adequate for normal use, there may be special cases when you want to show only parts of a presentation at a specific time, or you may want your slide show to be interactive. The ability to trigger an animation when clicking on an object gives you better control of how objects behave on your slides. Combining the two animation control setups is ideal for an effective presentation.
1. Launch PowerPoint, and open the document you want to edit.
2. If you have not created an object yet, insert the desired one from the Insert tab. After that, add a custom animation to the object from the Animations tab. By default, the Animation box only shows a small number of animations. Click the small arrow at the bottom right of the box to reveal them all.
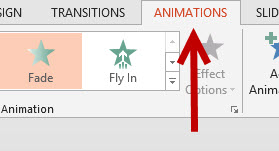
3. Once the animation is applied, highlight the object, and click the Animation Pane button on the ribbon.
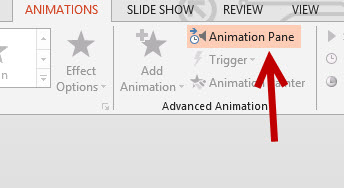
4. The Animation Pane appears on the right side of the program. Highlight the object that you want to edit, click the small drop-down arrow, and choose Effect Options.
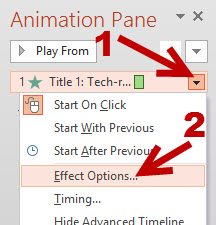
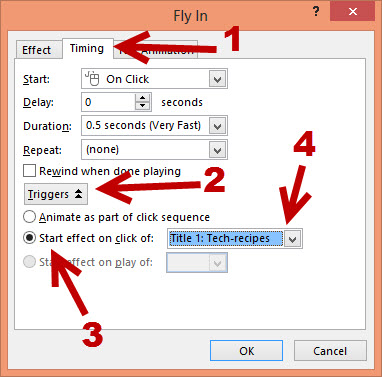
5. In the new pop-up window, switch to the Timing tab. Then click on the Triggers button at the bottom to see more timing controls, choose the Start effect on click of option, and choose the object that will be clicked in the box. Make sure that the object you choose is visible on the slide, or you will not be able to click on it at all.
6. Click the OK button to save the changes. Come back to the slides, and switch to slide show mode to see how the objects behave, depending on your clicks.

