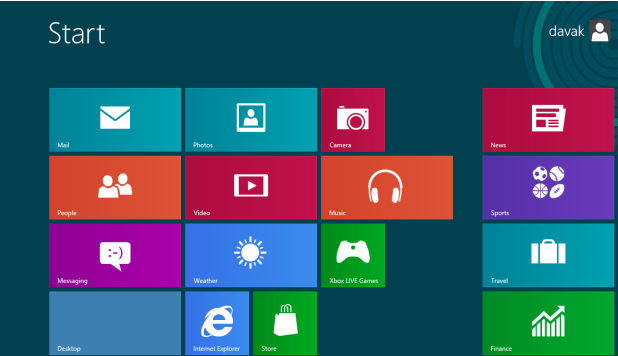
As an improvement from Windows 8, Windows 8.1 includes better Start screen customization settings, including animated backgrounds, tile grouping and more tile sizes. This tutorial is a comprehensive guide which you can use to give your Start screen a whole new look.
Customizing the Theme, Background:
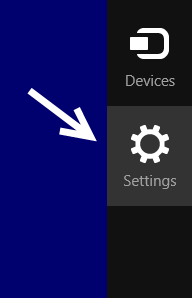
1. First, move your mouse to the bottom-right of the screen to open the charm bar. Alternatively, you can open it by pressing Win key + C on your keyboard.
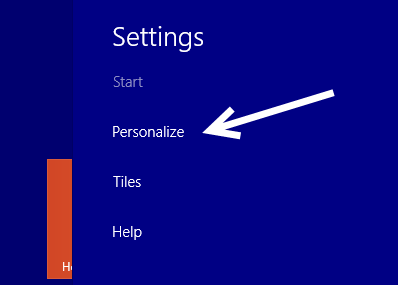
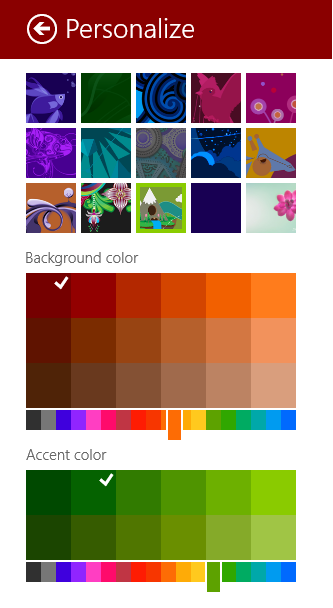
2. Next, choose the Personalize option from the slide-out panel. You may notice that this setting, which was in the Metro panel in Windows 8, has been moved to a new location.
3. This is the hub for changing the background of the Start screen, its color, and the accent color of the objects on screen. Most of the pre-loaded backgrounds are animated. You can see the animation when you scroll through the tiles. A notable setting is that you can use your desktop background as your Start background, which is the background at the bottom-right. For a pre-loaded background, you can change its color to whatever you want. Colors of the objects can also be changed using the Accent color setting. When you are done, just close the panel, and the changes will be preserved.
Tile Resizing and Grouping:
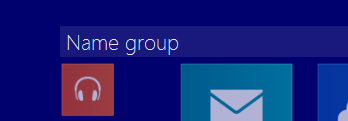
1. Tiles of the apps that serve the same purpose can be grouped together while in edit mode. To get to this mode, simply right-click on a tile. The group name can be changed at the top of the screen. Tiles can be moved by dragging them. To create a new group, simply move the tiles away from others. You can create as many groups as you want.
2. Tiles can be resized to small, medium, wide, and large (if supported). You can resize multiple tiles at once.
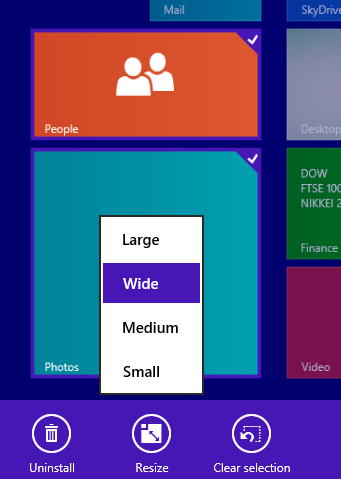
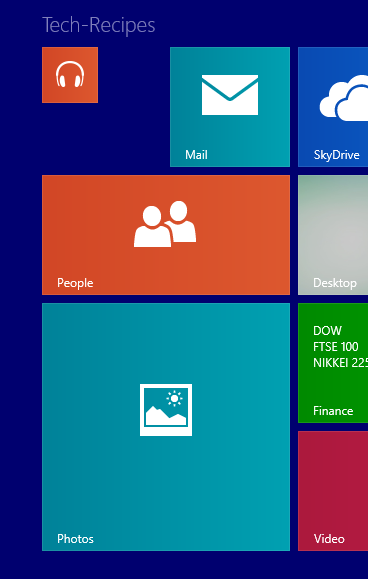
Below is an example of how tiles look in different sizes:
From top to bottom: Xbox music (small), Mail (medium), People (wide), Photos (large).
