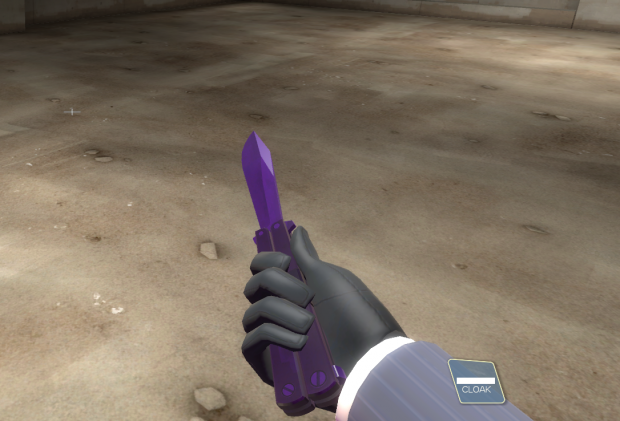
Have you ever played Team Fortress 2 and found that some of the weapons in the game are a bit boring? They seem cool for a while, but there isn’t a whole lot of personality to them. By modifying the textures you can modify the appearance to something a little more interesting.
The first step in setting up your mods is to download GCFScape and VTFEdit. These tools give you the ability to extract and modify the data files and textures so that you can edit them. You will also need a paint program, and I would recommend free options such as Paint.net or GIMP; however, almost any image editing program should work.
Now, with both programs installed and your paint tool up and running, go to your source files. Under most configurations this will be at the following location:
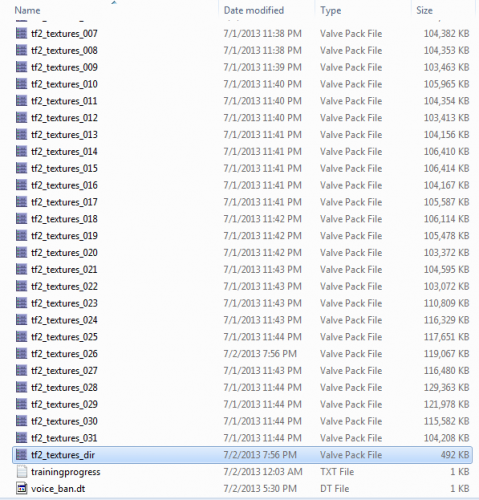
Program files>Steam>Steamapps>common>Team Fortress 2>tf
Scroll to the bottom of the list and open up tf2_textures_dir. This is the texture directory. From here, you have access to all the textures used in the game.
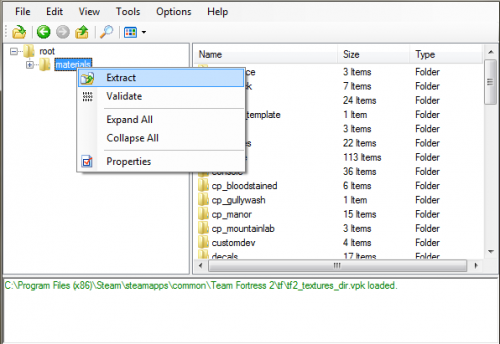
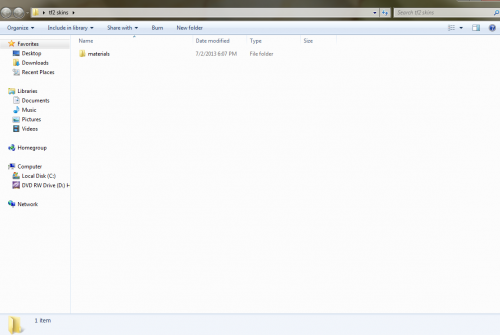
A window should appear with a folder called Materials. Right click and extract it to your desktop.
Now a folder on your desktop should appear with your materials inside.
From here you can select the texture that you wish to edit. We will use the default spy knife in our example so open materials and choose Models>weapons>v_knife.
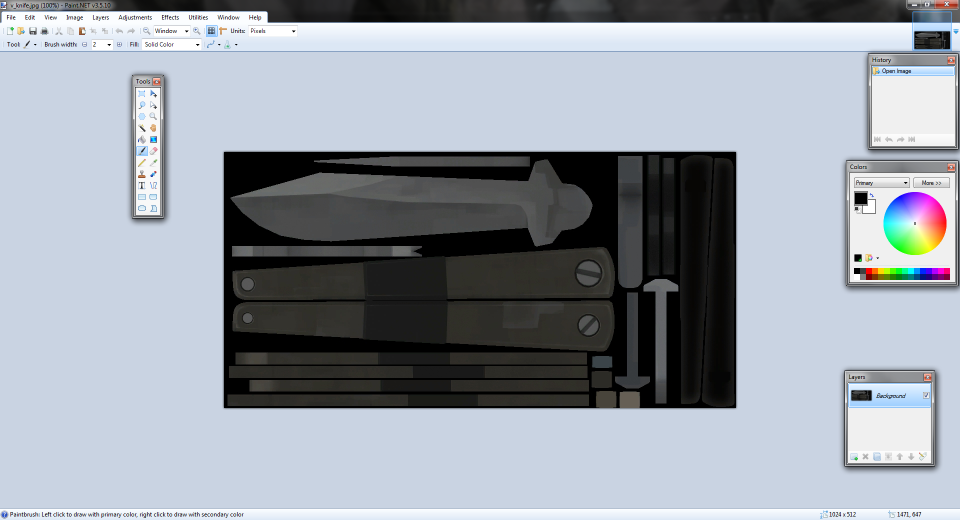
Double click the v_knife file to open it in VTFEdit. You can see the knife texture; however, paint programs are not set to load the VTF filetype, so we have to save it as another format. Go to file and click export. Make sure to export it as a JPEG, and keep the same name to keep it simple. Also, saving it with the knife VTF makes it easier to modify if you decide to make changes.
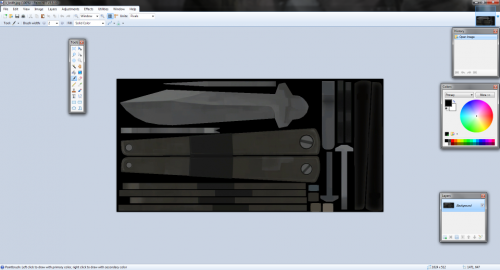
Open your paint program and load the knife JPEG. I’m using Paint.net in this tutorial, but the process will still be similar with other programs.
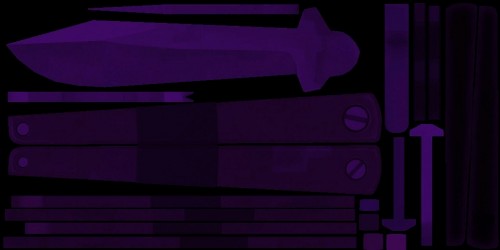
At this point, just draw on your knife to make it have whatever you want. Make it pretty or just add some smiley faces or whatever. I included my model so that you can see the texture and compare it to the in game model.
Now after you’ve finished your artwork, save it over the knife JPEG. Then go back to VTFEdit.
In VTF, import the knife you made.
Once imported, go to file and hit save. Now you can save it over the original file. This will just update the knife texture inside the material file.
Now comes the complicated part. Before you can add it to the game, you need to create a cache file so the game can load it. The new system requires a few extra steps but is simpler overall.
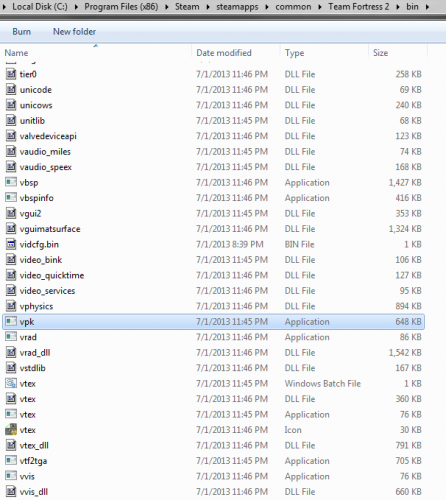
Navigate to the Team Fortress bin folder. The following navigation should work on most systems:
Program files>Steam>Steamapps>common>Team Fortress 2>bin
This folder contains a file called VPK. Right-click on VPK and create a shortcut, and then drag the shortcut to the desktop.
After creating the shortcut, you need to take the files to a place so the game can load them. Go back to Team Fortress>tf and click on the folder custom which should be found at the following navigation path:
Program files>Steam>Steamapps>common>Team Fortress 2>tfcustom
Now, inside the custom folder you can create a folder with any name you want. To keep it simple I will call mine “Ferox”.
Almost done now! Since we just have a material, we just have to make a couple more folders. Create a folder inside your mod folder called materials and inside that create a folder called models and inside that create a folder called weapons and inside that folder create a folder called v_knife.
Now your mod tree should look like: Mod Name>materials>models>weapons>v_knife. After the folders have all been created, place the v_knife file that we made earlier inside the v_knife folder.
The last step before testing is to go back to the custom folder. Take your entire mod folder and drag it into the VPK shortcut file. Now there will be a Valve Pack File with the mod name. This means you can now test it in game.
Open TF2 and click workshop. Go to Load Test Map and play as spy with default knife to check out your new mod.
