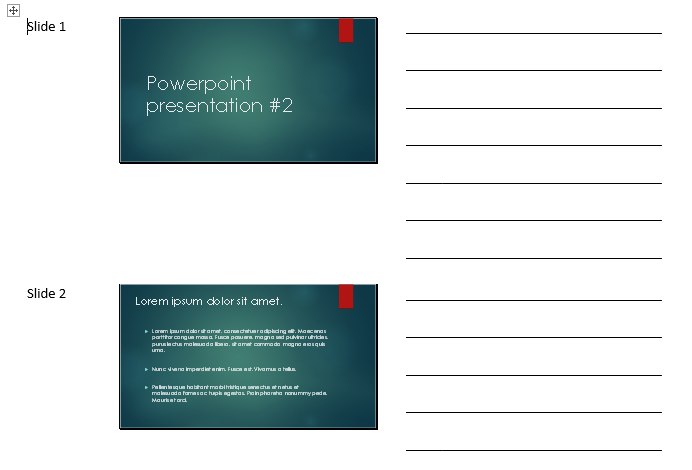
Handout are a great visual aid for your audience. Creating handouts of your presentation can really help your audience stay on track and follow along. By converting your PowerPoint presentation to a Microsoft Word document, you can easily edit, print, and distribute your information.
Although you can print and share your presentation directly, converting it first to a Word document gives you a large multitude of additional options. These steps will cover the conversion process will also include selecting one of many text layouts that are available.
Before we begin, open up your presentation in PowerPoint 2013.
1.First, select the FILE tab from the PowerPoint ribbon. 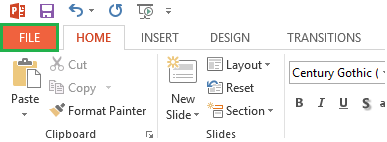
2.From the list of available options on the left-hand side, choose Export. 
3.Now, we want to create out handouts. This can be done by selecting the Create Handouts option, and then choosing Create Handouts once more. 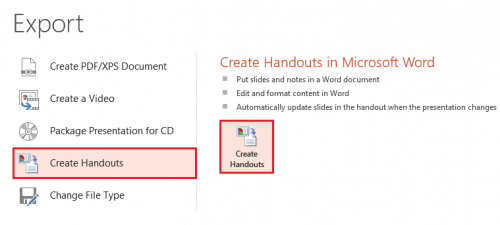
4.You will now be presented with a Send to Microsoft Word window. From here, choose the type of page layout you want. For this tutorial, we will select Blank lines next to slides. What this does is simply create blank lines next to each slide in Word. Your audience can use this space to take down their own notes. Once you have selected a layout that you like, click OK to begin the conversion process. 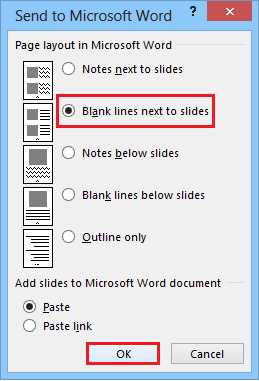
Once your conversion process has been completed, you should now see a new Word document with all of your slides and appropriate text layouts.
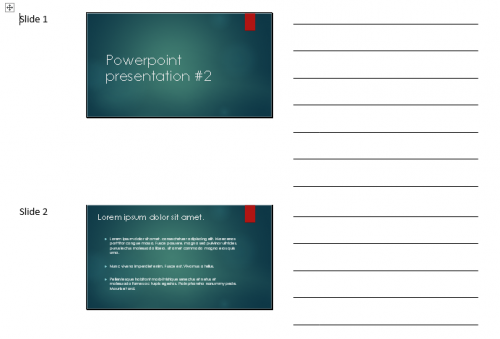
In this format your options for additionally editing the presentation in Word are nearly limitless. For example, I often add more detailed references at the bottom of the discussion before distribution.

