By default Lync 2013 saves all the files from the conversations or recordings to the Document folder inside the C drive. If you wish to set a different location, this tech-recipe will assist you.
Many people like to change the way Lync archives information. You can independently change where Lync saves the transferred files and recordings.
1. Launch Lync 2013 and log in to your account.
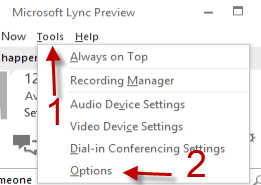
2a. Go to the Options section. You can access it by going to Tools -> Options if you have the toolbar enabled.
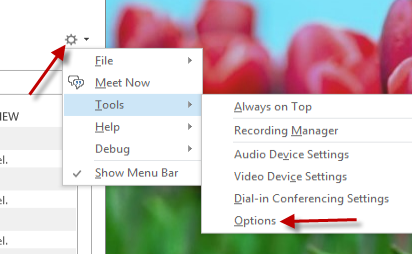
2b. Or you can click the small arrow next to the gear icon and choose Tools -> Options.
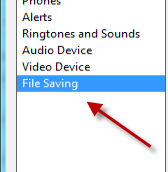
3. In the Options window, choose the File Saving section on the left side to continue.
4. On the right side of the page, there will be two options: File transfer and Lync recordings. Choose the setting you want to change and click the appropriate Browse button.
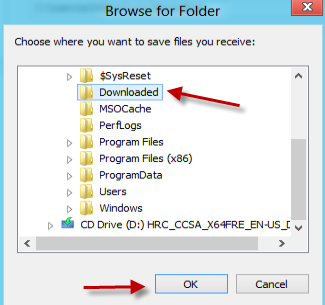
5. In the Explorer window, choose your desired folder and click OK.
6. Go back to the Lync options window, click OK to save and dismiss the window.


